1/29/2025 11:27 AM
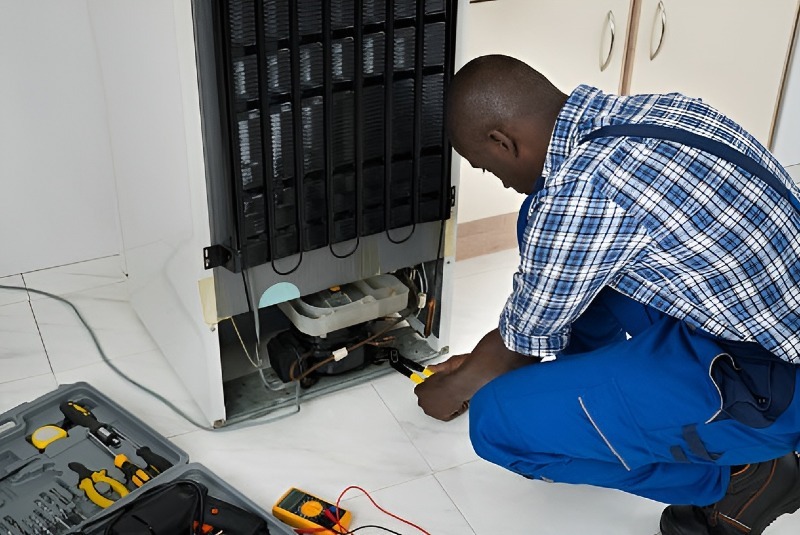
Is your KitchenAid fridge causing you issues?Don’t fret, numerous typical problems can be fixed without needing to contact professional repair services. With some assistance, you can frequently identify and resolve these issues on your own. In this article, we will examine various DIY tricks and remedies for repairing KitchenAid refrigerators.
Initially, let’s talk about a few common error codes you may come across. A common problem is encountering the dreaded 'PO' or power outage notification. This typically signifies that your refrigerator has lost its power supply. To reset this code, find the 'Confirm' button on the control panel and press it for a few seconds. If your device fails to reset, there could be a more serious electrical problem.
If your KitchenAid refrigerator isn't cooling correctly, various reasons might be the cause. Begin by examining the thermostat configuration. Ensure that it's not adjusted too high, inhibiting the refrigerator's ability to cool properly. If the configurations are accurate, make sure that the condenser coils are spotless. Dust and debris on these coils can greatly affect cooling efficiency. Regularly cleaning these coils is a simple yet crucial step in KitchenAid refrigerator repair.
Occasionally, you might hear strange sounds coming from your fridge. This is frequently caused by the fan blades hitting debris or ice accumulation. Carefully turn off the power and examine the fan section. Remove any blockages you encounter and reboot your refrigerator. A frequent problem that necessitates KitchenAid refrigerator repair is water leaking. This issue can frequently be fixed by examining and unclogging a blocked defrost drain. The defrost drain can become blocked by food debris or ice, and cleaning it yourself is typically successful. Utilize a mild flow of hot water to eliminate the blockage.
Lastly, we should remember the seals or gaskets on the refrigerator door. As time passes, these can deteriorate or get harmed, resulting in warm air seeping into the fridge, which affects its efficiency. Conduct a dollar bill test—insert a bill into the door and check if you can remove it easily. If possible, it's time to check and change these seals. Addressing these problems can help you conserve time and expenses, and keeping your refrigerator in good condition ensures it operates efficiently for many years ahead. Keep in mind that if the issue continues or you feel uneasy addressing it, seeking professional assistance is a perfectly acceptable option. We trust these suggestions assist you on your DIY path to successful KitchenAid refrigerator repair.